GM 3
bar map sensor install for use with DSMLINK VFAQ
Parts
needed:
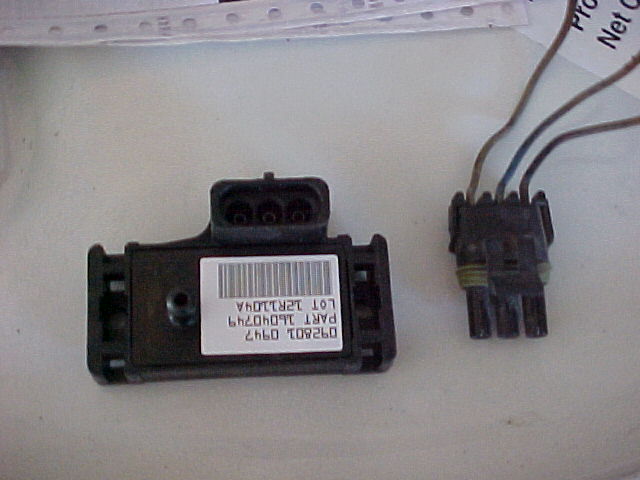
1)
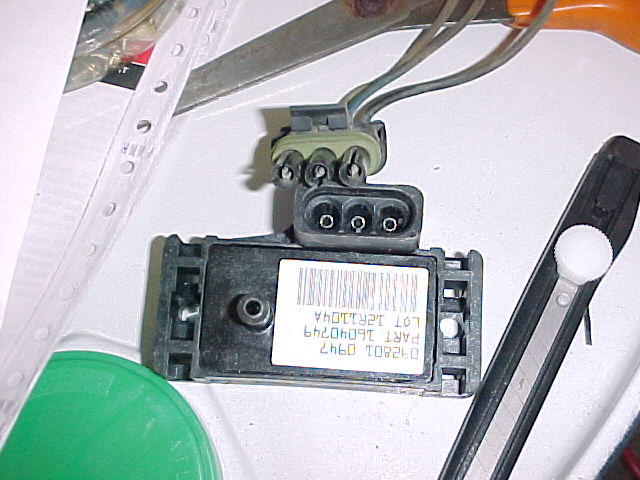
GM 3 bar map sensor from www.gmpartsdirect.com. Part number 16040749 $59 shipped
2)
map sensor harness off of a camarobird (or other GM car) in a junkyard: $0-1
- OR you can get it from NAPA P/N 784524 - GM Weather Pack
Triple Male w/seal Housing.
You will also need male pins for this connector,
since it is just an empty shell. ~$4
for all
- OR You can get the connector pre-assembled
from GM, the part number is 15305891. $17.26 + shipping
3)
Vacuum hose (one foot will be plenty)
4)
T connector to splice into the intake manifold boost/vacuum source
Tools
needed:
Xacto
knife/razor blade, and some vampire connections (or a soldering iron if you plan
to solder your connections), and of course some zip ties.
This
VFAQ will assume you have the junkyard MAP connector harness, or you have
already assembled your store bought connector
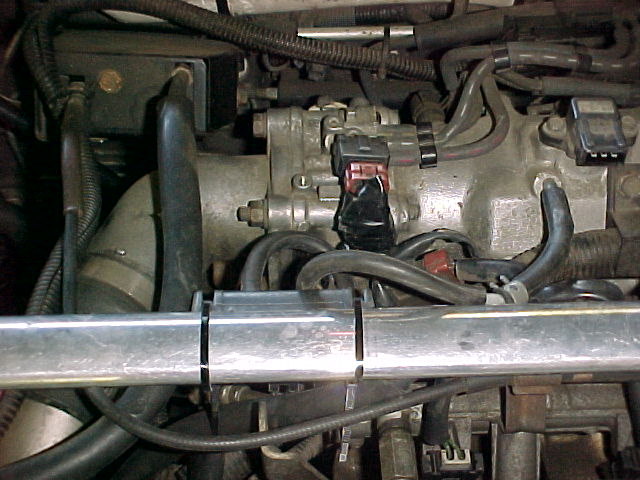
Now
I assume you know how to find the MDP sensor. It is the sensor
that
sits on top of the intake manifold of a 2G. Unplug it, but leave it
in
the intake manifold.
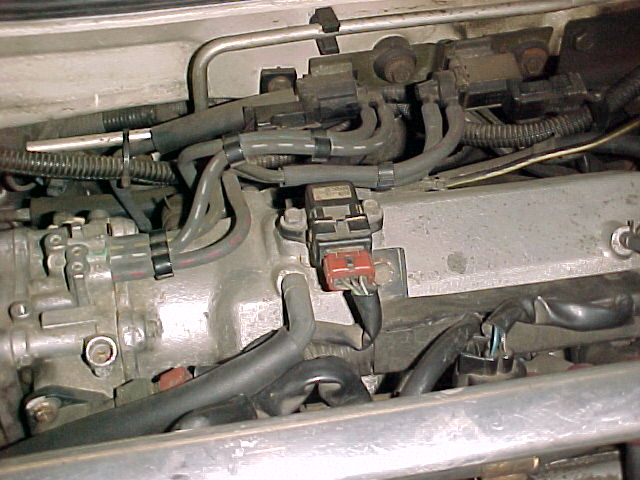
Try
to insert the empty Weather Pack connector into the MAP sensor.
It
won't go! See those little tabs inside the MAP sensor holes? Well,
you
have to make slits with a razor in the connector you bought to
match. Here is what it looks like before:

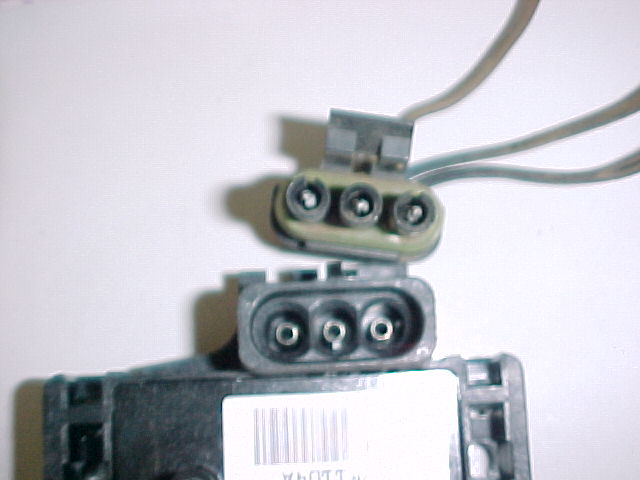
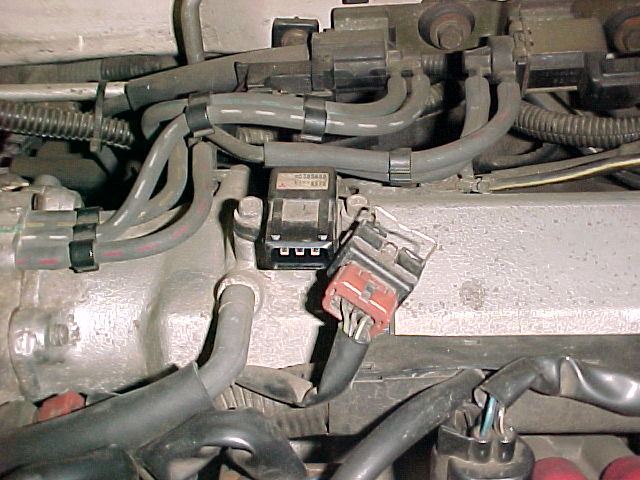
And here it is after the
cut:
Here
are the connections:
MAP
Function MDP
A
Ground Black
B
Signal Light Green-Black stripe
C +5
Volts Green-Yellow stripe
If
you want to solder, that is best, but I just used vampire taps. Tap the connector into the appropriate
lines.
That's
about it. Hook up the vac lines. Use a zip tie around each
connection.
Tape
up your wires with electrical tape, and secure your map sensor somewhere
safe.